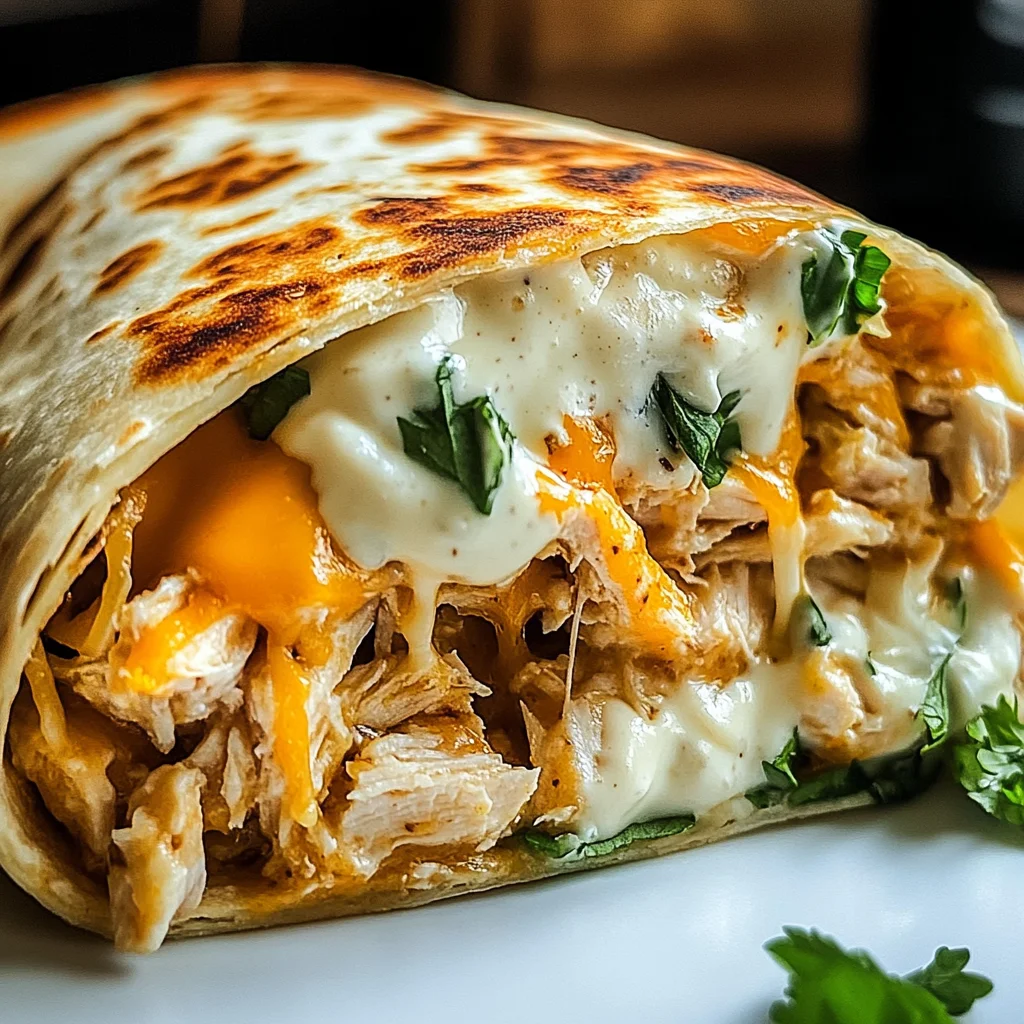
Cheesy Garlic Chicken Wraps
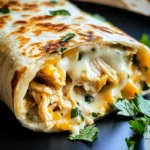
Enjoy our Cheesy Garlic Chicken Wraps, a delightful combination of tender chicken, creamy garlic aioli, and melted cheddar nestled in a soft tortilla. Perfect for weeknight dinners or casual gatherings, these wraps are simple to prepare and bursting with flavor. Their versatility makes them ideal for meal prep or quick lunches, ensuring you can indulge in comfort food any day of the week.
Why You’ll Love This Recipe
- Quick to Prepare: With just 15 minutes of prep time, you can have a delicious meal ready in no time.
- Flavor Explosion: The creamy garlic aioli paired with melted cheddar creates a rich taste that everyone will love.
- Versatile Meal Option: These wraps can be customized with your favorite veggies or sauces, making them perfect for any palate.
- Family-Friendly: Kids and adults alike will enjoy this tasty wrap, making it an ideal choice for family dinners.
- Great for Meal Prep: Make a batch ahead of time for easy grab-and-go lunches during the week.
Tools and Preparation
To make your cooking experience smooth and efficient, gather the essential tools listed below.
Essential Tools and Equipment
- Large mixing bowl
- Cooking spoon
- Baking sheet
- Aluminum foil
Importance of Each Tool
- Large mixing bowl: Ideal for combining ingredients thoroughly without spills.
- Cooking spoon: A sturdy spoon helps in mixing and spreading the garlic aioli evenly on the tortillas.
- Baking sheet: Perfect for heating up your wraps to achieve a crispy texture.
- Aluminum foil: Helps keep your wraps warm and makes clean-up easier.
Ingredients
Enjoy our Cheesy Garlic Chicken Wraps, featuring tender chicken, creamy garlic aioli, and melted cheddar in a soft tortilla.
For the Wraps
- 2 cups cooked chicken (shredded)
- 1/2 cup garlic aioli
- 1 cup cheddar cheese (shredded)
- 4 large tortillas
- Salt and pepper to taste
How to Make Cheesy Garlic Chicken Wraps
Step 1: Prepare Your Ingredients
Gather all your ingredients on your workspace. This ensures you have everything within reach as you assemble your wraps.
Step 2: Mix the Filling
In a large mixing bowl, combine the shredded chicken with garlic aioli. Stir until well mixed. Add salt and pepper to taste.
Step 3: Assemble the Wraps
Take one tortilla and place a generous portion of the chicken mixture in the center. Sprinkle shredded cheddar cheese on top. Fold the sides inwards and roll tightly from one end to the other.
Step 4: Cook the Wraps
Preheat your oven to 375°F (190°C). Place the assembled wraps seam-side down on a baking sheet lined with aluminum foil. Bake for approximately 15–20 minutes or until golden brown and crispy.
Step 5: Serve and Enjoy
Remove from the oven and let cool slightly before slicing. Serve warm with extra garlic aioli or your favorite dipping sauce!
How to Serve Cheesy Garlic Chicken Wraps
Cheesy Garlic Chicken Wraps are versatile and can be served in various delightful ways. Whether for a casual dinner or a festive gathering, these wraps can adapt to any occasion.
With Fresh Salad
- A light, crisp salad complements the rich flavors of the wraps. Consider a mixed greens salad with a tangy vinaigrette for balance.
Paired with Sweet Potato Fries
- Sweet potato fries add a touch of sweetness and crunch. Bake them until crispy for an enjoyable contrast to the cheesy wraps.
Accompanied by Guacamole
- Serve with fresh guacamole for a creamy, flavorful addition. The avocado’s richness pairs beautifully with the garlic and cheddar.
On a Platter with Dipping Sauces
- Create a fun platter featuring various dipping sauces like ranch or spicy mayo. This adds excitement and variety to your meal.
How to Perfect Cheesy Garlic Chicken Wraps
Making Cheesy Garlic Chicken Wraps is easy, but a few tips can enhance your dish even further.
- Use Fresh Ingredients: Fresh chicken and high-quality cheese make all the difference in flavor.
- Warm Tortillas: Warming tortillas before filling them ensures they are pliable and enhances their taste.
- Adjust Garlic Aioli: Tailor the amount of garlic aioli to your preference for creaminess and flavor intensity.
- Add Vegetables: Incorporate fresh vegetables like spinach or bell peppers for added nutrition and texture.
- Experiment with Cheese: While cheddar is great, try mixing in other cheeses like mozzarella or pepper jack for unique flavors.
Best Side Dishes for Cheesy Garlic Chicken Wraps
Pairing side dishes with your Cheesy Garlic Chicken Wraps can elevate your meal experience. Here are some great suggestions:
- Coleslaw: A crunchy coleslaw adds freshness and contrasts nicely with the wraps’ richness.
- Corn on the Cob: Grilled or boiled corn provides sweetness and is easy to prepare alongside your main dish.
- Vegetable Stir-Fry: A colorful stir-fry brings vibrant flavors to the table while adding essential nutrients.
- Potato Wedges: Crispy potato wedges seasoned with herbs offer comfort and pair well with cheesy flavors.
- Roasted Asparagus: Lightly roasted asparagus is a healthy side that complements the savory wrap perfectly.
- Fruit Salad: A refreshing fruit salad balances out the meal with its natural sweetness, making it ideal for warmer days.
Common Mistakes to Avoid
Avoiding common mistakes can make your Cheesy Garlic Chicken Wraps even more delicious. Here are some pitfalls to watch for:
- Skipping the seasoning: Failing to season your chicken properly can lead to bland wraps. Always add salt and pepper to taste before assembling.
- Overstuffing the wraps: Packing too much filling can make it hard to wrap them properly. Use only the recommended amounts for a neat and enjoyable bite.
- Using cold tortillas: Cold tortillas can crack when wrapping. Warm them slightly in the microwave or on a skillet for better flexibility.
- Not letting the chicken cool: Adding hot chicken directly to the tortilla can cause it to become soggy. Let your shredded chicken cool before assembling.
- Ignoring ingredient freshness: Using stale ingredients, especially tortillas, can ruin the texture and flavor of your wraps. Always check for freshness.
Storage & Reheating Instructions
Refrigerator Storage
- Store Cheesy Garlic Chicken Wraps in an airtight container.
- They will last up to 3 days in the refrigerator.
Freezing Cheesy Garlic Chicken Wraps
- Wrap each individual wrap tightly in plastic wrap or aluminum foil.
- Store in a freezer-safe container for up to 2 months.
Reheating Cheesy Garlic Chicken Wraps
- Oven: Preheat your oven to 350°F (175°C). Place wraps on a baking sheet and heat for about 10-15 minutes until warmed through.
- Microwave: Place wraps on a microwave-safe plate and cover with a damp paper towel. Heat in 30-second intervals until warm.
- Stovetop: Heat a skillet over medium heat and place wraps in the pan. Cook for about 3-4 minutes on each side until heated through.
Frequently Asked Questions
Here are some common questions about making Cheesy Garlic Chicken Wraps.
Can I use other proteins instead of chicken?
Absolutely! You can substitute shredded beef, turkey, or lamb if you prefer.
How do I make my own garlic aioli?
Simply blend mayonnaise with minced garlic, lemon juice, salt, and pepper to taste. Adjust flavors as desired!
Can these wraps be made ahead of time?
Yes! You can assemble wraps ahead of time and store them in the refrigerator for up to 3 days or freeze them for longer storage.
What toppings pair well with Cheesy Garlic Chicken Wraps?
Consider adding fresh vegetables like lettuce, tomatoes, or avocado for extra crunch and flavor.
Are there vegetarian options available?
You can replace chicken with grilled vegetables or beans for a hearty vegetarian version of these wraps.
Final Thoughts
These Cheesy Garlic Chicken Wraps are not only easy to prepare but also incredibly versatile. Feel free to customize them with your favorite sauces or veggies! Whether it’s a quick weeknight dinner or meal prep for the week, these wraps fit perfectly into any occasion. Try making them today!
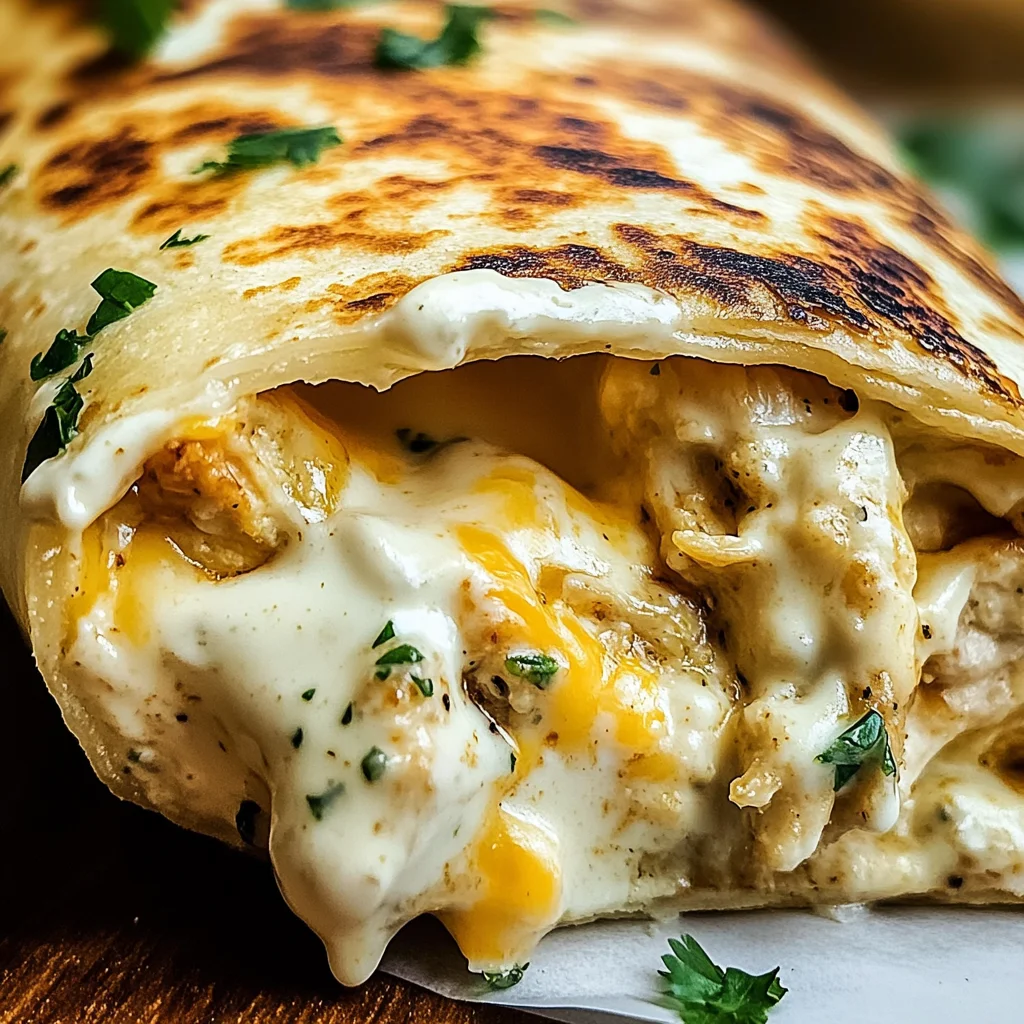
Cheesy Garlic Chicken Wraps
Indulge in the deliciousness of Cheesy Garlic Chicken Wraps, a perfect blend of tender shredded chicken, creamy garlic aioli, and gooey cheddar cheese wrapped in a soft tortilla. These wraps are an ideal choice for busy weeknights or casual get-togethers, combining rich flavors with easy preparation. With just a few simple ingredients, you can create a satisfying meal that is both comforting and versatile. Customize your wraps with fresh veggies or your favorite sauces, making them suitable for everyone at the table. Whether enjoyed as a quick lunch or part of a family dinner, these Cheesy Garlic Chicken Wraps are sure to please.
- Prep Time: 15 minutes
- Cook Time: 20 minutes
- Total Time: 35 minutes
- Yield: Serves 4
- Category: Dinner
- Method: Baking
- Cuisine: American
Ingredients
- 2 cups cooked chicken (shredded)
- 1/2 cup garlic aioli
- 1 cup cheddar cheese (shredded)
- 4 large tortillas
- Salt and pepper to taste
Instructions
- Prepare your ingredients by gathering everything on your workspace.
- In a large mixing bowl, combine the shredded chicken and garlic aioli until well mixed. Season with salt and pepper to taste.
- Take one tortilla, place a generous portion of the chicken mixture in the center, and sprinkle with shredded cheddar cheese. Fold the sides inward and roll tightly from one end to the other.
- Preheat your oven to 375°F (190°C) and place the wraps seam-side down on a baking sheet lined with aluminum foil. Bake for 15–20 minutes until golden brown and crispy.
- Let cool slightly before slicing and serve warm with additional garlic aioli or your favorite dipping sauce.
Nutrition
- Serving Size: 1 wrap (approx. 200g)
- Calories: 380
- Sugar: 2g
- Sodium: 680mg
- Fat: 21g
- Saturated Fat: 10g
- Unsaturated Fat: 9g
- Trans Fat: 0g
- Carbohydrates: 30g
- Fiber: 3g
- Protein: 24g
- Cholesterol: 70mg