Halloween Cake Pops
Get This Recipe In Your Inbox
Enter your email address and we'll send it straight to your inbox.
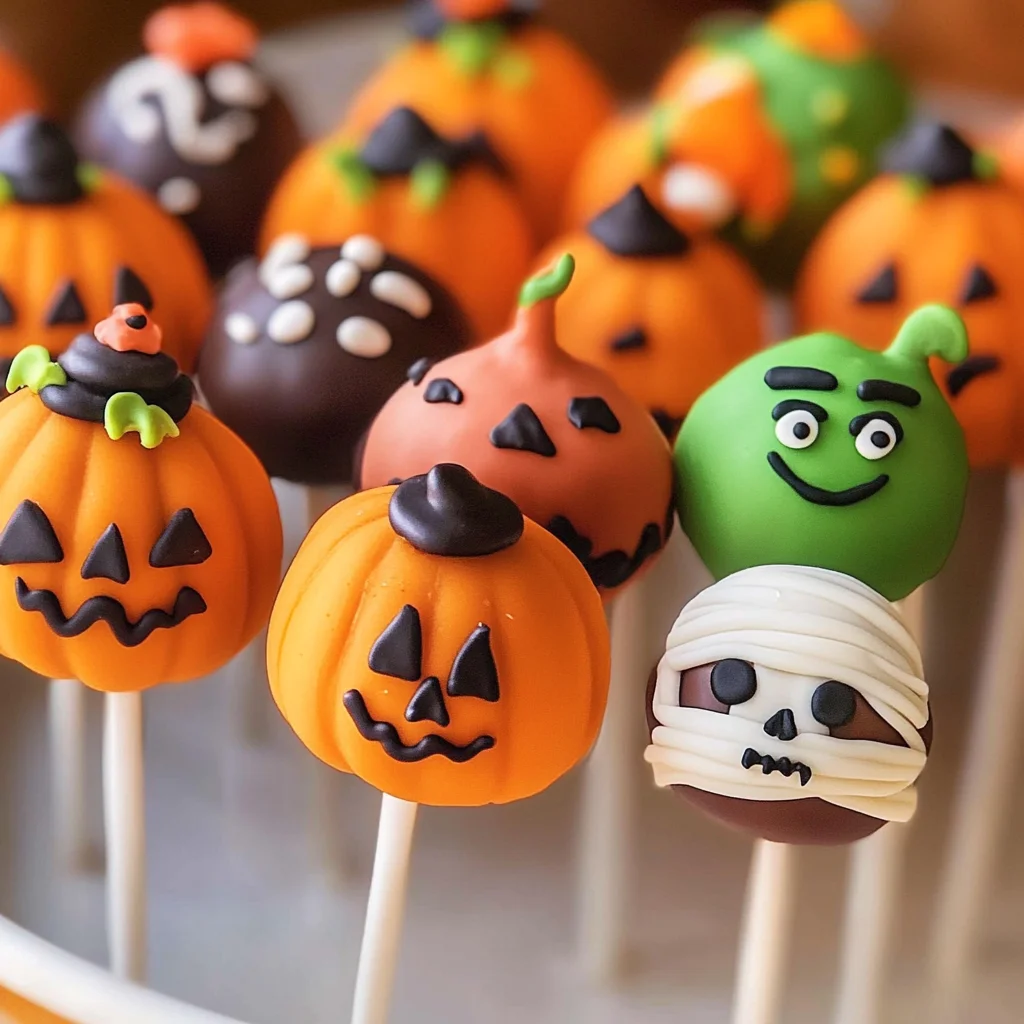
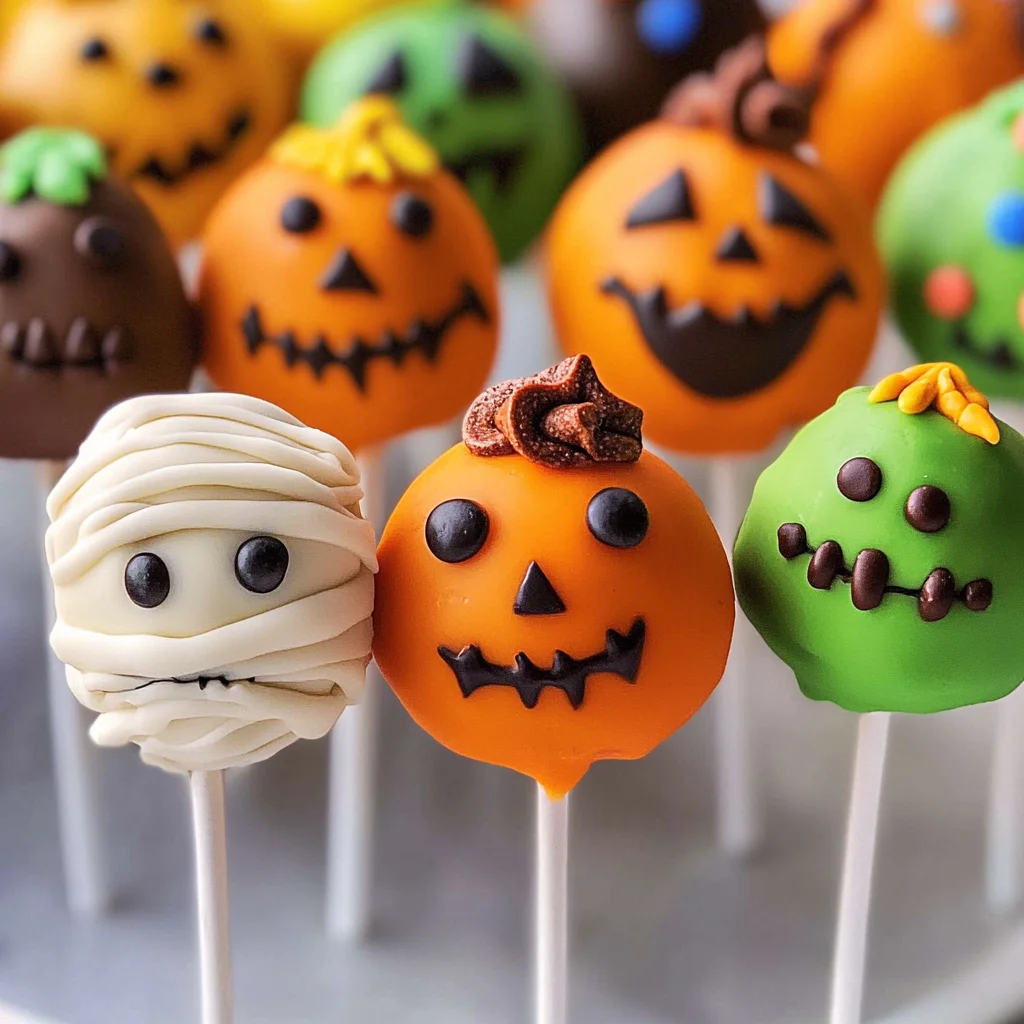
Add these spooky cake pops to your next Halloween party. Halloween Cake Pops are fun and festive treats that can brighten up any gathering. With their customizable decorations, these bite-sized delights can be transformed into playful pumpkins, creepy Frankensteins, or spooky mummies. Perfect for kids and adults alike, they bring a delightful touch to Halloween celebrations or any special occasion.
Why You’ll Love This Recipe
- Easy to Make: The simple ingredients and straightforward process make it easy for bakers of all levels.
- Fun Decorations: Get creative with toppings like candy eyes and sprinkles, making each cake pop unique.
- Versatile Flavor Options: Use your favorite cake mix for either vanilla or chocolate flavors.
- Perfect for Parties: These cake pops are bite-sized and great for sharing at gatherings, making them a crowd-pleaser.
- Kid-Friendly Activity: Involve the kids in decorating their own cake pops for a fun family activity.
Tools and Preparation
Before you dive into the baking process, gather your tools. Having everything ready will make the preparation smoother.
Essential Tools and Equipment
- Baking pan
- Mixing bowl
- Electric mixer
- Spatula
- Refrigerator
- Microwave-safe bowl
- Candy sticks
Importance of Each Tool
- Baking pan: A non-stick baking pan ensures even cooking and easy removal of your cake.
- Electric mixer: This tool helps achieve a smooth batter quickly, saving you time and effort.
Ingredients
Add these spooky cake pops to your next Halloween party. Made with vanilla or chocolate cake, decorate these bite-sized pieces of cake for Halloween including a Pumpkin, Frankenstein, and a Mummy.
For the Cake
- 1 box Favorite cake mix
- 1 3.4 oz box instant pudding mix
- 4 eggs
- 1 cup water
- 1/3 cup vegetable oil
For the Frosting and Coating
- 1 cup Frosting
- Candy Melts
Toppings
- Sprinkles
- Candy eyes
How to Make Halloween Cake Pops
Step 1: Preheat the Oven
Preheat your oven to 350°F. Spray your 13 x 9 pan with vegetable pan spray to prevent sticking.
Step 2: Prepare the Cake Batter
In a large bowl, combine:
1. Cake mix,
2. Pudding mix,
3. Eggs,
4. Water,
5. Oil.
Beat at medium speed for about 2 minutes until well blended. Pour the batter into the prepared pan.
Step 3: Bake the Cake
Bake in the preheated oven for 30-40 minutes or until a toothpick inserted into the center comes out clean. Allow it to cool in the pan for about 10 minutes before removing it.
Step 4: Crumble the Cake
Once cooled, crumble the cake into a large bowl using your hands or two forks until no large chunks remain.
Step 5: Mix in Frosting
Add frosting to the crumbled cake mixture and combine using your fingers until fully mixed.
Step 6: Form Cake Balls
Shape the mixture into small balls using your hands. Aim for uniform size so they look great together!
Step 7: Chill the Cake Balls
Place formed balls in the refrigerator for at least 2 hours to allow them to harden properly.
Step 8: Melt Candy Melts
Melt Candy Melts in a microwave-safe bowl in 30-second intervals at half power or on the stove until smooth.
Step 9: Insert Sticks
Dip one end of each candy stick into melted Candy Melts and insert it into each chilled cake ball. Allow them to set; you can speed this up by placing them in the freezer for about 20 minutes.
Step 10: Dip in Candy Melts
Once firm, dip each cake pop completely into melted Candy Melts until fully coated.
Step 11: Add Decorations
While still wet, sprinkle on your chosen decorations like chopped candy, nuts, or sprinkles before they dry completely.
Now you have delightful Halloween Cake Pops ready to impress! Enjoy sharing these spooky treats with friends and family!
How to Serve Halloween Cake Pops
Serve these delightful Halloween Cake Pops at your next spooky gathering. Their fun designs and bite-sized portions make them perfect for parties, trick-or-treaters, or as a festive dessert.
At a Halloween Party
- Offer a variety of designs like pumpkins, mummies, and Frankenstein to create an eye-catching display.
- Serve on themed platters or stands to enhance the spooky atmosphere of your party.
As Trick-or-Treat Treats
- Individually wrap each cake pop in clear cellophane bags tied with orange ribbons for a festive touch.
- Hand them out in lieu of traditional candy for a fun twist on Halloween treats.
As Classroom Snacks
- Coordinate with teachers to bring these cake pops as a sweet treat for classroom celebrations.
- Consider making mini versions for easier handling by young kids.
For Family Movie Night
- Pair cake pops with a selection of Halloween-themed movies for an enjoyable family night in.
- Create a cozy dessert bar where everyone can choose their favorite designs.
How to Perfect Halloween Cake Pops
Creating the perfect Halloween Cake Pops requires attention to detail and some helpful tips. Follow these guidelines to ensure your treats are both delicious and visually appealing.
- Choose Quality Ingredients: Use high-quality cake mix and frosting to enhance the flavor of your cake pops.
- Crumble Thoroughly: Ensure the cake is crumbled into fine pieces before adding frosting. This helps achieve the right consistency for shaping.
- Chill Before Dipping: Chill the formed cake balls for at least 2 hours. This step prevents them from falling apart when dipped in melted Candy Melts.
- Use a Double Boiler: When melting Candy Melts, consider using a double boiler for even heating and smoother chocolate.
- Decorate Immediately: Sprinkle toppings onto the cake pops right after dipping while the coating is still wet, ensuring they stick well.
Best Side Dishes for Halloween Cake Pops
Pairing side dishes with your Halloween Cake Pops can elevate your festive spread. Here are some great options that complement these sweet treats perfectly.
- Spooky Veggie Platter
A colorful assortment of seasonal vegetables shaped like creepy creatures or arranged in fun patterns. - Pumpkin Soup
A warm and creamy pumpkin soup served in small cups makes an excellent autumnal starter. - Mummy Hot Dogs
Mini hot dogs wrapped in crescent dough to resemble mummies; serve with mustard or ketchup for dipping. - Witch’s Brew Punch
A refreshing fruit punch made with various juices and topped with floating gummy worms or eyeballs. - Ghostly Cheese Balls
Cream cheese balls shaped like ghosts, rolled in herbs or spices, served with crackers for easy snacking. - Bat Wings
Chicken wings coated in dark sauces and served with a tangy dipping sauce; they add a savory element to your dessert table. - Candy Corn Salad
A vibrant salad combining corn, peppers, and black beans arranged to resemble candy corn colors; it’s both healthy and festive. - Chocolate-Dipped Pretzels
Crisp pretzels dipped in chocolate and decorated with sprinkles or candy eyes offer a crunchy contrast to the sweetness of cake pops.
Common Mistakes to Avoid
Making Halloween Cake Pops can be fun, but there are some common mistakes that can lead to less-than-perfect results.
- Skipping the Cooling Step: Allowing your cake to cool completely is crucial. If you attempt to crumble it while it’s still warm, the cake will become too mushy and difficult to work with.
- Not Chilling the Cake Balls: Skipping the chilling process can cause your cake balls to fall apart when dipped in the melted Candy Melts. Be sure to chill them for at least 2 hours!
- Using Too Much Frosting: Adding excess frosting can make your mixture overly wet, leading to a messy texture. Use just enough frosting to hold the cake together without making it soggy.
- Overheating the Candy Melts: Melting Candy Melts too quickly can cause them to seize up. Heat them in short intervals and stir often for a smooth consistency.
- Neglecting Decoration Timing: Waiting too long to add decorations after dipping can result in them not sticking. Sprinkle decorations while the Candy Melts are still wet.
Storage & Reheating Instructions
Refrigerator Storage
- Store Halloween Cake Pops in an airtight container.
- They will last up to one week in the refrigerator.
Freezing Halloween Cake Pops
- Place cooled cake pops in a single layer on a baking sheet.
- Freeze until solid, then transfer them to an airtight container or freezer bag.
- They can be frozen for up to three months.
Reheating Halloween Cake Pops
- Oven: Preheat oven to 350°F, place pops on a baking sheet for about 5 minutes until slightly warm.
- Microwave: Heat one pop at a time for about 10-15 seconds on a microwave-safe plate.
- Stovetop: Not recommended as it may ruin the decoration; stick with oven or microwave methods.
Frequently Asked Questions
Here are some common questions about making Halloween Cake Pops that might help you get started.
How do I achieve a smooth finish on my Halloween Cake Pops?
To achieve a smooth finish, ensure your Candy Melts are melted properly and stirred until silky. Dip your cake pops straight into the melted coating and gently tap off any excess.
Can I use different flavors for my Halloween Cake Pops?
Absolutely! You can use any flavor of cake mix you prefer, such as red velvet or lemon, and match your frosting accordingly. This allows for great customization!
What toppings work best for Halloween Cake Pops?
Creative toppings include sprinkles, crushed candy bars, or candy eyes. Get imaginative with decorations for unique designs!
How long do Halloween Cake Pops last?
When stored properly in an airtight container, they can last up to one week in the refrigerator and three months if frozen.
Final Thoughts
These Halloween Cake Pops are not only delicious but also visually appealing, making them perfect for any festive gathering. Feel free to customize flavors and decorations based on your preferences or event theme. Give this recipe a try and delight your guests with these spooky treats!
Halloween Cake Pops

Create festive Halloween Cake Pops that are fun and delicious! Try this easy recipe today and impress your guests with spooky treats!
- Prep Time: 20 minutes
- Cook Time: 40 minutes
- Total Time: 1 hour
- Yield: Approximately 24 servings 1x
- Category: Dessert
- Method: Baking
- Cuisine: American
Ingredients
- 1 box favorite cake mix
- 1 3.4 oz box instant pudding mix
- 4 eggs
- 1 cup water
- 1/3 cup vegetable oil
- 1 cup frosting
- Candy melts
- Toppings (sprinkles, candy eyes)
Instructions
- Preheat your oven to 350°F and prepare a baking pan with vegetable spray.
- In a mixing bowl, combine cake mix, pudding mix, eggs, water, and oil. Beat for 2 minutes until smooth.
- Pour batter into the pan and bake for 30-40 minutes until a toothpick comes out clean. Let cool for 10 minutes before removing.
- Once cooled, crumble the cake in a bowl and mix in frosting until well combined.
- Form mixture into small uniform balls and chill for at least 2 hours.
- Melt candy melts in intervals until smooth. Dip candy sticks into melted candy before inserting into chilled cake balls.
- Dip each cake pop into melted candy melts and decorate immediately with chosen toppings.
Nutrition
- Serving Size: 1 cake pop (45g)
- Calories: 160
- Sugar: 14g
- Sodium: 75mg
- Fat: 8g
- Saturated Fat: 2g
- Unsaturated Fat: 5g
- Trans Fat: 0g
- Carbohydrates: 21g
- Fiber: <1g
- Protein: 2g
- Cholesterol: 30mg
Get This Recipe In Your Inbox
Enter your email address and we'll send it straight to your inbox.